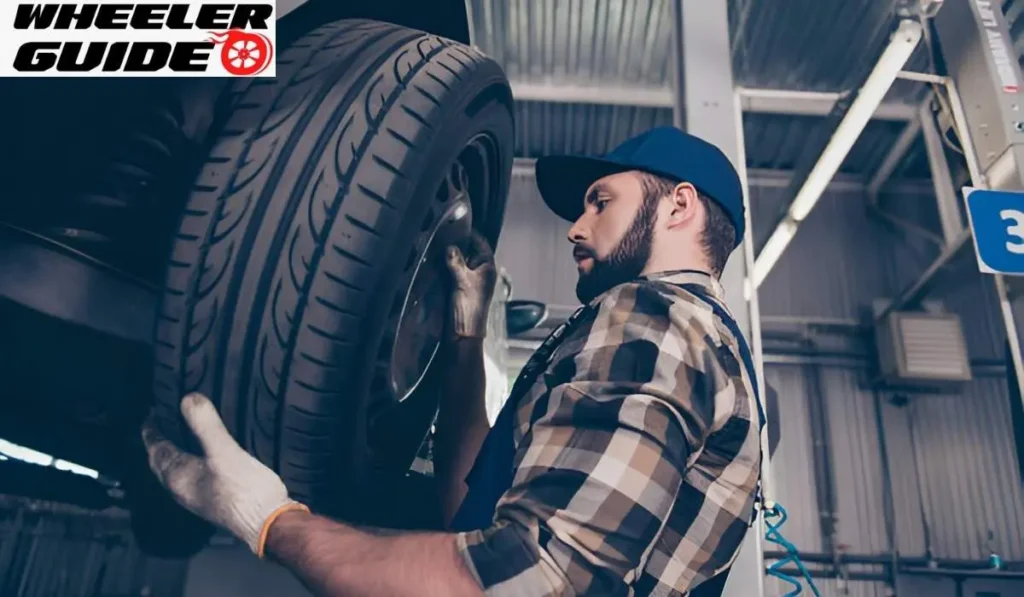
Installing a tire may seem daunting, but with the right steps and tools, it can be done at home. Many drivers want to learn this skill to save money and time. It’s also handy in emergencies. To install a tire, start by deflating it completely, then use tire levers to separate the old tire from the rim. Next, clean the rim and apply lubricant to help the new tire slide on more easily. Push one side of the tire onto the rim, then work around until it’s fully seated. Use the tire levers again to get the other side on. Finally, inflate the tire slowly to ensure it sets properly.
Safety is key when working with tires. Wear gloves to protect your hands and make sure you have a stable surface to work on. If you’re not confident in your ability to install a tire correctly, it’s best to seek help from a professional. Improper installation can lead to safety issues on the road.
Tools and Preparation
To install a tire safely and effectively, you need the right equipment and safety measures. Proper tools and precautions are key to a successful tire installation.
Understanding Your Equipment
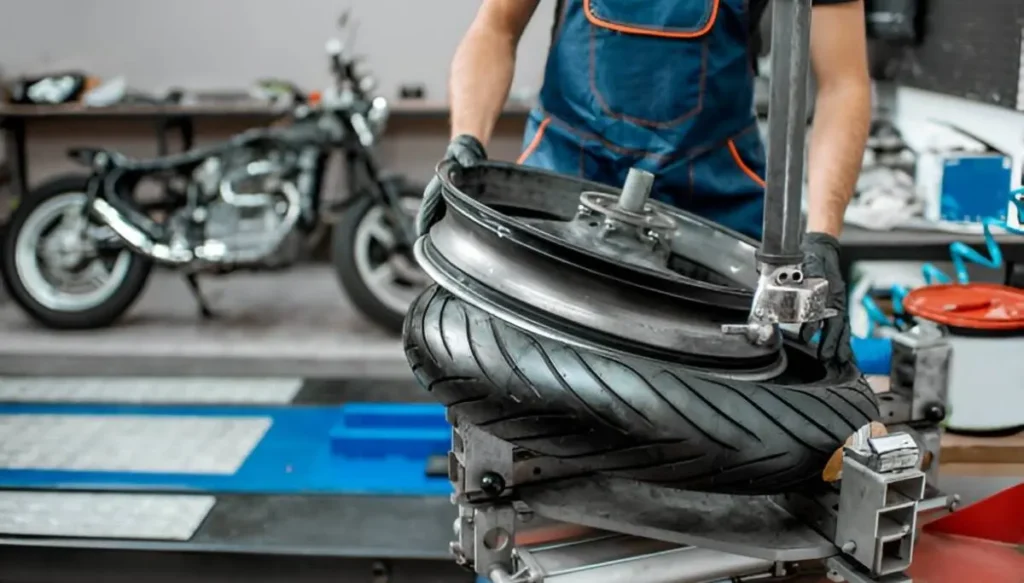
A tire mounting machine is essential for professional tire installation. This device helps separate the tire from the rim and fits the new tire onto the wheel. Many tire shops use these machines for quick and efficient service.
Manual tools are also important. These include:
- Lug wrench
- Jack
- Tire iron
- Valve core tool
- Tire pressure gauge
Each tool serves a specific purpose in the tire installation process. For example, the lug wrench loosens and tightens the lug nuts, while the jack lifts the vehicle off the ground.
Safety Precautions
Safety is crucial when working with tires. Always work on a flat, stable surface. Use wheel chocks to prevent the vehicle from rolling. Wear safety glasses to protect your eyes from debris. When using a tire machine, follow the manufacturer’s instructions carefully. Keep hands and loose clothing away from moving parts to avoid injury. Check the tire pressure after installation. Proper inflation is key for safety and performance. Use a reliable tire pressure gauge for accurate readings. Lastly, ensure all lug nuts are tightened to the correct torque specification. This prevents wheel loosening while driving.

Removing the Old Tire
Taking off the old tire is the first step in installing a new one. This process involves loosening the lug nuts, lifting the vehicle, and removing the wheel and tire assembly.
Loosening Lug Nuts
Before lifting the vehicle, it’s crucial to loosen the lug nuts. Use a lug wrench from your car’s toolkit. Turn it counterclockwise to loosen each nut. Don’t remove them completely yet. For stubborn lug nuts, try using your body weight or a longer wrench for more leverage. Be careful not to strip the nuts. Some vehicles have locking lug nuts. You’ll need a special key to loosen these. Check your owner’s manual for its location.
Lifting the Vehicle
Place the jack under the vehicle at the correct jacking point. These points are usually near each wheel well. Consult your owner’s manual for exact locations. Raise the jack until the tire is off the ground. The vehicle should be high enough to remove the tire easily. For safety, place a jack stand under the vehicle as a backup. This prevents accidents if the jack fails.
Removing the Wheel and Tire
Now that the vehicle is lifted, remove the lug nuts completely. Keep them in a safe place so they don’t roll away. Grab the tire with both hands and pull it straight toward you. It might be stuck due to rust or corrosion. If so, try rocking it gently back and forth. Once free, set the wheel and tire aside. Be careful – tires can be heavy. If you’re not comfortable lifting it, ask for help. Inspect the wheel hub and brake components. Look for any damage or wear that might need attention. With the old tire removed, you’re ready to install the new one. Make sure the new tire matches the specifications of your vehicle.

Preparing the New Tire
Before mounting the new tire, proper preparation is key. This involves careful inspection and lubrication to ensure a smooth installation process.
Inspecting the New Tire
Check the new tire for any defects or damage. Look for cuts, bulges, or irregularities on the sidewalls and tread. Ensure the tire size matches your vehicle’s specifications. Examine the bead of the tire. This rubber edge seals against the rim. It should be smooth and free from nicks or tears. Verify the tire’s direction of rotation if it has a directional tread pattern. An arrow on the sidewall indicates the correct mounting direction.
Lastly, check the date code. Tires over 6 years old may have degraded rubber and should not be used.
Lubricating the Bead
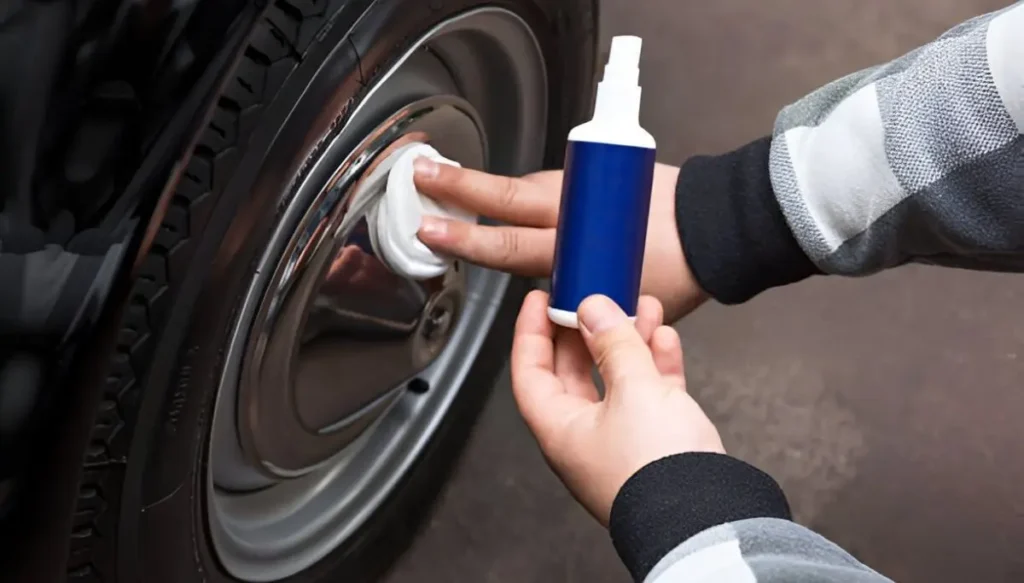
Proper lubrication helps the tire slide onto the rim easily. Use a tire bead lubricant or a mix of water and mild soap. Apply the lubricant generously to both beads and the rim. Spread it evenly using a brush or sponge. Make sure to cover the entire bead area. This reduces friction and prevents damage during mounting. Avoid using petroleum-based products. These can harm the rubber and compromise the tire’s integrity. For stubborn beads, extra lubricant may be needed. Reapply if necessary during the mounting process.
Mounting the Tire on the Rim
Putting a tire on a rim requires careful technique to avoid damage. There are two main methods: manual mounting and using a machine. Each has its steps and tools needed.
Manually Mounting the Tire
To mount a tire by hand, start by lubricating the tire bead and rim edge. This helps the tire slide on more easily. Place one side of the tire onto the rim. Use tire irons or pry bars to work the rest of the tire over the rim edge. Be careful not to scratch the rim. Work in small sections, moving around the rim. Pull the valve stem through its hole once that section is mounted. For the second bead, push the tire down into the rim’s drop center. This gives you more space to work. Use the pry bars to pull the remaining tire over the edge bit by bit.
Using a Tire Mounting Machine
A tire machine makes mounting much easier. Place the wheel on the machine and secure it. Put the tire over the wheel at an angle. The machine’s arm helps push the tire onto the rim. Lubricate the tire and rim well. This reduces friction as the machine works. The machine rotates the wheel while a tool presses the tire down onto the rim. Be sure the tire bead seats properly in the rim. Listen for popping sounds as it lock into place. The machine can mount both sides of the tire quickly and safely.
Inflating and Seating the Bead
Properly inflating a tire and seating the bead are crucial steps in tire installation. These processes ensure a secure fit and optimal performance. Careful attention to detail during this stage helps prevent air leaks and maintains tire safety.
Removing the Valve Stem Core
To begin, locate the valve stem on the wheel. Use a valve core tool to unscrew the small metal pin inside the valve. This pin is called the valve stem core. Removing the core allows air to flow faster into the tire. This increased airflow is key for seating the bead properly. Place the removed core in a safe spot. It will need to be reinstalled later. Some tire shops use a special tool to remove valve cores quickly. This tool can save time when working on multiple tires.
Inflating the Tire to Seat the Bead
Start by applying soapy water or a special bead lubricant around the tire’s edges. This helps the tire slide into place more easily. Connect an air compressor to the valve stem. Begin inflating the tire slowly. Listen for popping sounds as the bead starts to sit. Keep an eye on the tire’s sidewall. It should move outward and meet the rim evenly all around.
If the bead doesn’t sit, try these steps:
- Deflate the tire completely
- Reapply lubricant
- Inflate again, this time to a higher pressure of 30-60 PSI
For stubborn beads, some mechanics use a ratchet strap around the tire’s circumference. This pushes the bead outward. Once seated, reduce the air pressure to the manufacturer’s recommended level. Reinstall the valve stem core and add air as needed.
Balancing and Attaching the Tire
Proper tire balancing and attachment are crucial for a smooth ride and even tire wear. These steps ensure your tires perform optimally and safely on the road.
Checking and Adjusting the Balance
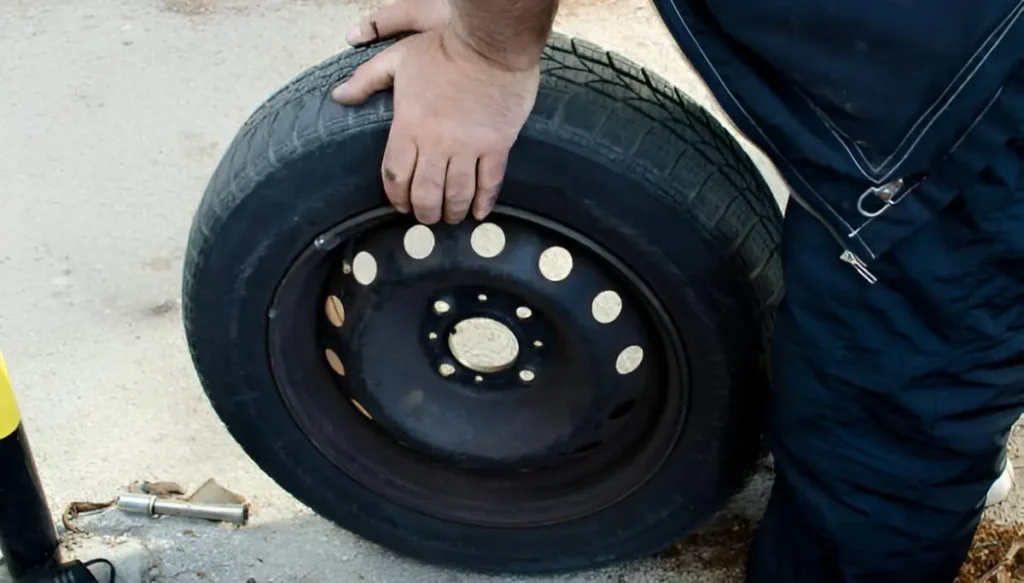
Balancing the tires is essential for a comfortable ride. A technician places the wheel on a balancing machine. This device spins the wheel to check for heavy spots. If the machine detects an imbalance, small weights are added to the rim. These weights counteract the heavy spots. The process repeats until the tire is perfectly balanced. For DIY enthusiasts, a bubble balancer can be used at home. This tool helps find the heavy spot on the tire. The user then adds stick-on or clip-on weights to balance it.
Proper balancing prevents vibrations and uneven tire wear. It also improves fuel efficiency and extends the life of suspension components.
Attaching the Wheel to the Vehicle
After balancing, it’s time to attach the wheel to the vehicle. The technician lifts the car and positions the wheel on the hub. Lug nuts are then hand-tightened onto the wheel studs. This step ensures the wheel is properly seated on the hub. Next, the car is lowered so the tire touches the ground. A torque wrench tightens the lug nuts to the manufacturer’s specifications. This prevents over-tightening or under-tightening. It’s important to tighten lug nuts in a star pattern. This ensures even pressure and prevents the warping of the brake rotor. After driving 50-100 miles, it’s wise to check and re-tighten the lug nuts. This step accounts for any settling that may have occurred.

Final Checks and Maintenance
After installing a tire, it’s crucial to perform final checks and ongoing maintenance. These steps ensure safety and optimal tire performance.
Torque Inspection
Proper lug nut tightening is vital for wheel security. Use a torque wrench to tighten lug nuts to the correct specification. This value varies by vehicle, so check the owner’s manual. Tighten lug nuts in a star pattern for even pressure distribution. Start with hand-tightening, then use the torque wrench for final tightening. Recheck torque after driving 50-100 miles. Lug nuts can loosen slightly during initial use. This follow-up ensures continued wheel security.
Pro tip: Mark lug nuts with chalk after tightening. This makes it easy to spot any that have loosened.
Pressure Check and Adjustment
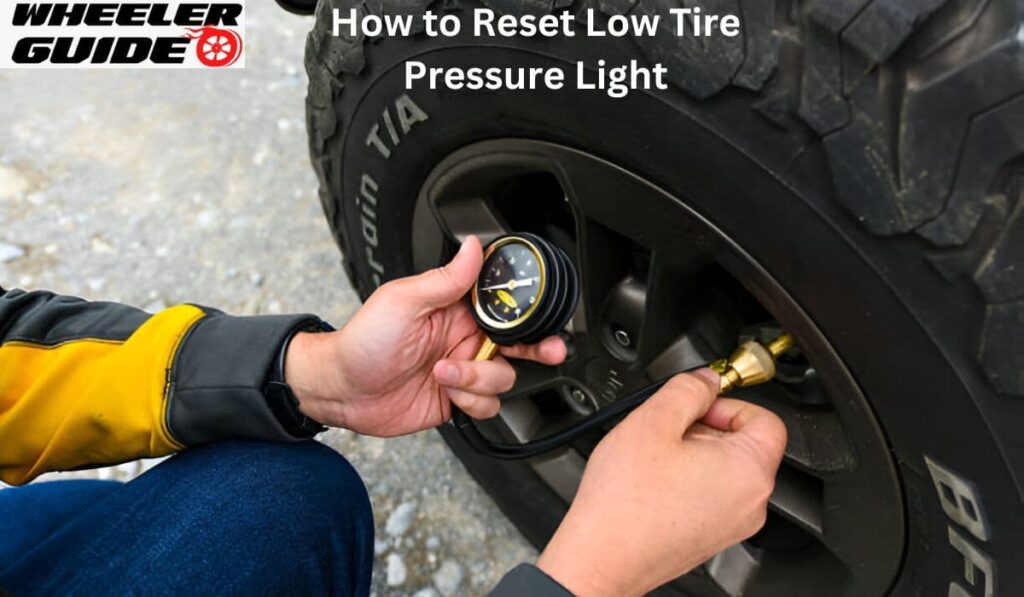
Correct tire pressure is crucial for safety, fuel efficiency, and tire longevity. Check the pressure when tires are cold for accuracy. Use a reliable tire pressure gauge. Insert it into the valve stem and press firmly to get a reading. Compare the reading to the recommended pressure listed on the driver’s side door jamb or in the owner’s manual. Add or release air as needed to reach the correct pressure. Don’t forget to check the spare tire too. Set a schedule for regular pressure checks. Monthly checks are a good rule of thumb. Tire pressure can change with temperature fluctuations.
Frequently Asked Questions
Installing tires involves specific tools, steps, and safety measures. Proper technique is crucial for a secure fit and safe driving experience.
What tools are required to manually mount a tire on a rim?
To manually mount a tire on a rim, you’ll need a few key tools. These include tire levers or spoons, a bead breaker, valve stem tools, and a tire lubricant. A rubber mallet can help seat the bead properly. Safety gear like gloves and eye protection is also important. A tire changer machine can make the process easier but isn’t strictly necessary for manual installation.
What are the steps to install a tire on a car?
Installing a tire on a car involves several steps. First, loosen the lug nuts and jack up the vehicle. Remove the old tire and place the new one on the wheel hub. Align the tire with the lug bolts and hand-tighten the lug nuts. Lower the vehicle and use a lug wrench to fully tighten the nuts in a star pattern. Finally, check the tire pressure.
Can tire installation be safely done at home, and if so, how?
Tire installation can be done at home with proper knowledge and tools. Start by deflating the old tire and breaking the bead. Use tire levers to remove the old tire from the rim. Clean the rim and apply tire lubricant. Mount the new tire, ensuring proper alignment. Use a bead sealer and inflate the tire slowly. Always follow safety precautions and consult a professional if unsure.
What safety precautions should be taken when mounting a tire with a machine?
When using a tire mounting machine, wear proper safety gear including gloves and eye protection. Ensure the machine is in good working condition and follow the manufacturer’s instructions. Keep hands and loose clothing away from moving parts. Use tire lubricant to prevent damage to the tire or rim. Never exceed the recommended air pressure when inflating.
Is it possible to mount a tire to a rim using the fire method, and what does it involve?
The fire method for mounting tires is dangerous and not recommended. It involves using flammable substances to create an explosion that seats the tire bead. This method can damage tires, and rims, and pose serious safety risks. Professional tire installation methods are safer and more reliable.
After installing a new tire, what are the key things to check for?
After installation, check the tire pressure and adjust if needed. Inspect the bead to ensure it’s properly seated on the rim. Look for any signs of damage or irregularities. Verify that the valve stem is straight and not leaking. Test the lug nuts for proper tightness. Finally, take a short test drive to check for any vibrations or handling issues.
